QuickBooks offers multiple types of sales forms that are appropriate for different situations. Here’s a look at when they’re used and how to create them. QuickBooks is very good at providing tools for creating the business forms you need. If you’ve already created records for your customers and vendors and the products and/or services you sell, filling them out is easy. You just complete a few fields and select from lists for the rest. You can print them or email them, and QuickBooks keeps records of what you’ve sent. But do you always know for sure which type of sales forms you should be choosing for different situations? Your version of QuickBooks may or may not includes sales orders, but there are three that it will: sales receipts, invoices, and statements. You should know when each kind is appropriate so your bookkeeping is accurate and your customers aren’t confused. Here’s a look at these three forms. Sales Receipts: On the Spot Sales Depending on the type of business you own, you may never need to create a sales receipt for a customer. These are only appropriate if you receive payment at the same time a customer receives a product or service from you.

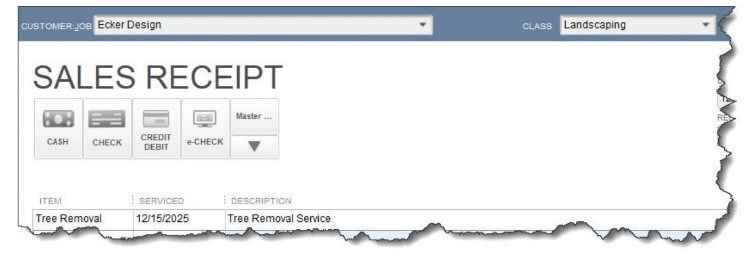
To create a sales receipt, click Create Sales Receipts on the homepage or open the Customers menu and select Create Sales Receipts. You’ll see a form that looks like the partial one pictured above. Click the down arrow in the CUSTOMER:JOB field and choose the correct customer or job. TIP:If this sale is part of a new job for an existing customer, go to the customer record and add the job before you create the sales receipt. Go to Customers | Customer Center and right-click on the customer’s name. Select Add Job and at least enter a JOB NAME. You can complete the record later. Select a CLASS if you use them and the type of payment. Then complete the fields in the table below to describe the sale. Save the transaction and print or email to the customer. Invoices, for Later Payment If a customer does not pay you at the time of the sale, you send them an invoice. Select Create Invoices on either the homepage or in the Customers menu.